Extreme Golf Cart Makeover (Episode 1)
We are super thrilled to start our Extreme Golf Cart Makeover Series, and here’s our first episode. This episode covers how we found it, bought it, and got it ready to go.
A golf cart makeover can be as complicated as solving a puzzle or as easy as putting pieces of lego together. But here we are to take you along with our step-by-step golf cart makeover journey (along with a chance to win prizes).
Golf cart makeover requires careful planning, plenty of research, setting a timeline, and deciding what parts you want to upgrade. Read, watch and learn from our complete golf cart makeover series, starting from searching for a cart, to parts installation to everything in-between.
Research and Purchase
To do a makeover, one needs a golf cart, so we started with researching carts for sale. We looked at a ton of different private sellers with listings on websites and publications.
As a result, we mainly found already upgraded carts that didn’t fit our transformation expectations. After that, we tried searching local cart listings on auction sites, and we got lucky there.
We found what we were looking for at the Willandale golf cart dealership. They have tons of beautiful golf carts. We discussed our expectations with them, and the staff sent us some photos of options. What a friendly group!
Finally, we got the cart that matches our expectations, and we chose the Yamaha G29 Drive model. A golf course fleet cart from a dealership turned out to be our best option, but all areas of the country can vary, so make sure to do your research.
Troubleshooting
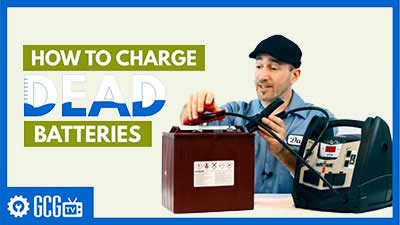
Once we got our golf cart delivered (thanks to the people of Willandale), the first thing we did was test everything. Starting from a flat tire, we took care of a blown fuse, a dead battery, filters, oil, spark plug, and carburetor, along with some beat-up dirty parts like the solenoid and voltage regulator. We tested almost every important part.
Quick Install
After testing all the essential elements, we jumped for some quick installs of single items to see how they look, which is our favorite part. Who doesn’t love to try out new accessories? Following are our quick installs.
- Wheel: We started with the wheel. The Yamaha Drive golf cart has a clearance to take your stock 18-inch tires up to 20 inches with no lift if there’s no weight in the rear, like a box or seat. We tested that, and it turns out to be true, but the gap was a bit tight for us but still we can say it’s very drivable and a good upgrade.
- Clay’s Basket: Storage is always important, and so next, we tried out a clay’s basket for front storage
- Fitted Enclosure: We also tried a fitted enclosure for the G29 top, which is longer than most rooftops.
- Seat cushions: Later on, we tried some replacement seat cushions in a dual-tone that looked awesome.
Note: Even if you are not going for a complete golf cart makeover, there’s a wide variety of single upgrade options for Yamaha G29. Check out the collection at Golf Cart Garage and in case of any concern, get in touch with the experts. It’s always a good idea to get in contact with the experts.
Have you Enrolled in Extreme Golf Cart Makeover Sweepstakes?
Get a chance to win $7k worth of prices!! Find more details here.
Visit our site to register yourself now for the Extreme Golf Cart Makeover Sweepstakes!
Subscribe Now
Do you find this series interesting? Do not forget to subscribe to our YouTube channel for the next updates. Interesting videos are coming soon.
Episode 2 – In the Next episode, we’ll be tearing the cart down to prepare it for the first phase of the remodel. Sounds fantastic, right? Well, stay tuned!
Further Read
The Extreme Golf Cart Makeover Series by Golf Cart Garage (Intro)
 Available M-F, 9-5PM ET |


